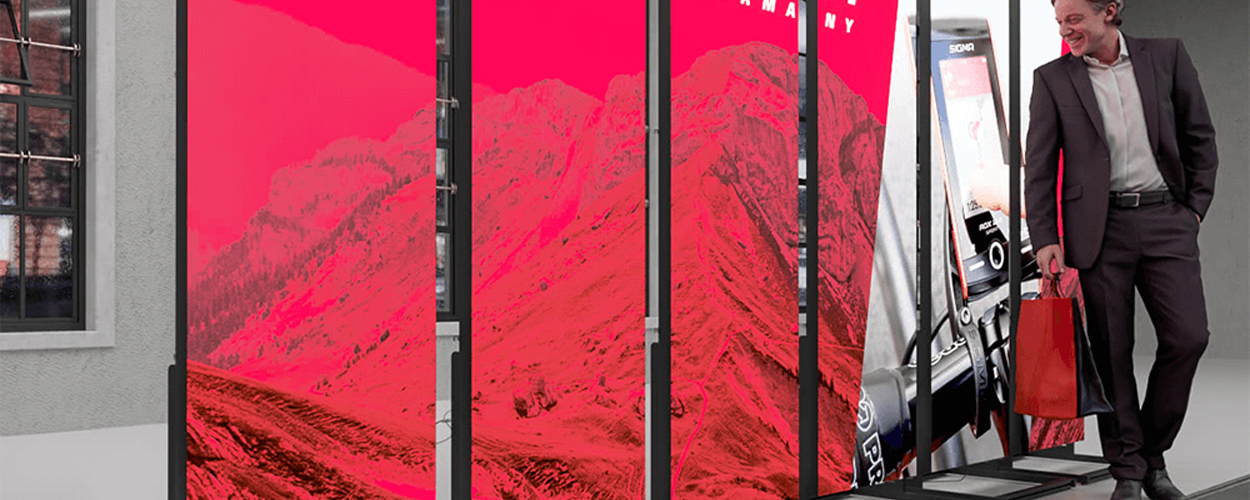
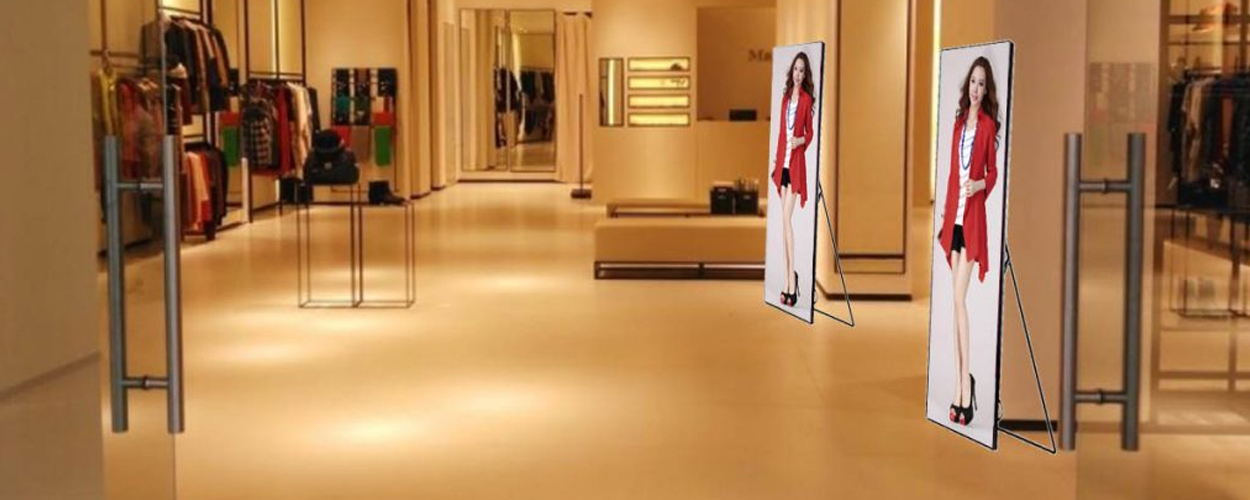
LED display technology has become a popular choice for various occasions, whether in stores, conferences, events, or advertising billboards. LED displays provide a powerful tool for conveying information. Modern LED displays not only deliver impressive visual effects but also allow remote control via WiFi for content updates and management. This article will guide you on how to use WiFi control for poster LED displays, making it easy to manage and update your display content.
Step 1: Select the Right WiFi Controller
To begin using WiFi control for your LED display, you first need to choose a WiFi controller suitable for your LED screen. Make sure to select a controller that is compatible with your display, and vendors usually provide recommendations. Some common WiFi controller brands include Novastar, Colorlight, and Linsn. When purchasing a controller, also ensure it supports the features you desire, such as screen splitting and brightness adjustment.
Step 2: Connect the WiFi Controller
Once you have the appropriate WiFi controller, the next step is to connect it to your LED display. Typically, this involves connecting the controller’s output ports to the input ports on the LED display. Ensure a proper connection to avoid issues. Then, connect the controller to the WiFi network, usually via a router. You’ll need to follow the controller’s manual for setup and connections.
Step 3: Install Control Software
The accompanying control software for the WiFi controller should be installed on your computer or smartphone. This software usually offers an intuitive user interface for easy management and updates of content on the LED display. After installation, open the software and follow the guide to set up the connection to the LED display through the WiFi controller.
Step 4: Create and Manage Content
Once successfully connected, you can start creating and managing content on the LED display. You can upload images, videos, text, or other media types and arrange them in the desired playback order. The control software typically provides flexible scheduling options for you to change the displayed content as needed.
Step 5: Remote Control and Monitoring
With the WiFi controller, you can control and monitor the LED display remotely. This means you can update content at any time without physically going to the location of the display. This is particularly convenient for displays installed in different locations, allowing you to make real-time updates and adjustments as necessary.
Step 6: Maintenance and Care
Lastly, regular maintenance and care for the LED display are crucial. Ensure that the connections between LED modules and the controller are secure, clean the display surface for optimal visual performance, and periodically check for software and controller updates to ensure everything runs smoothly.
Using WiFi control for LED displays can greatly simplify the process of content management and updates, making it more efficient and flexible. Whether you use LED displays in retail, conference centers, or the advertising business, WiFi control will help you showcase your information and capture your audience’s attention better. By following the above steps, you’ll easily master how to use WiFi control for poster LED displays, making the most of this powerful tool.
Post time: Oct-20-2023


